How to Create a WordPress Maintenance Page
- Category : WordPress
- Posted on : Oct 18, 2017
- Views : 1,883
- By : Odalis J.

You’ll occasionally run into an error on your website or need to implement a feature that may affect its functionality. This may require you to take the site down temporarily, but people will still try to access it. That means you need to figure out a way to stop that from happening while also avoiding scaring away your users.
WordPress maintenance pages enable you to inform users that you’re working on the site and that it will soon be back to normal. Maintenance pages are not included in WordPress by default, but you can create one in minutes using the right plugin.
In this article, we’ll talk more about the pros and cons of using maintenance pages on your site. We’ll also teach you how to create and enable one using plugins. Let’s get to it!
What Maintenance Pages Are (And Their Pros and Cons)

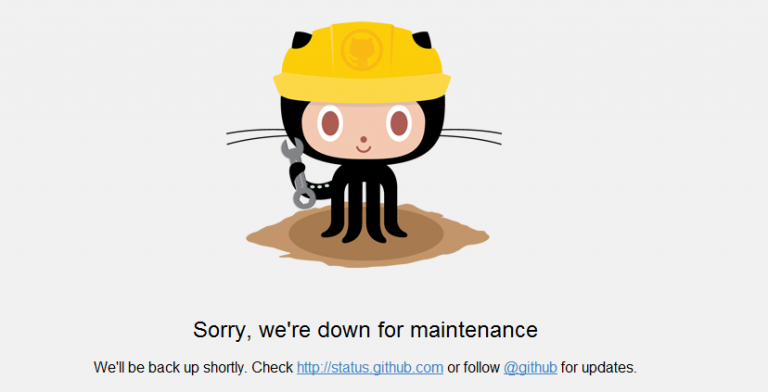
As the name implies, maintenance pages inform visitors your website is currently undergoing some changes. Think of them as the web equivalent of putting up a sign that says “We’re closed for repairs, come back later!”
These days, you don’t see maintenance pages as much since there are other ways to deal with programmed downtimes. However, they still offer a lot of advantages such as:
- Being easy to set up. Creating and enabling a maintenance page doesn’t take long.
- You can inform visitors about what’s going on. Visitors will know what you’re doing and how long until they can return.
- They’re better than using an error page. Error pages can be off-putting, so this approach is better to assuage your visitor’s fears.
Using a maintenance page will make your website inaccessible until you turn it off. That means you’ll lose out on traffic and potential conversions in the meantime. For this reason, we only recommend using maintenance pages when you run into site-breaking errors. If you want to make smaller changes to your pages, there are better alternatives.
For example, you can set up a staging site to troubleshoot bugs and make design changes. Once you’re sure everything works as intended, you can push those changes live. This way, visitors won’t experience any downtime, and your website will be safe if you make any errors since you’re using a testing environment. That being said, creating a staging site can be a lot of work, so there are times when using maintenance pages is the most efficient option.
How to Create a WordPress Maintenance Page (In 3 Steps)
As always, remember to backup your website before you make any significant changes to it. This applies even if you’re trying to fix an error since there’s a possibility that your fixes cause additional issues (it happens to the best of us!).
Step #1: Download and Install the Maintenance Mode Plugin

To create a maintenance page, we’ll be using the Maintenance Mode plugin. We’re fans of this plugin due to its simplicity and the customization possibilities it offers. It’s also completely free and offers no premium versions, so it’s a perfect choice for most site owners.
To get started, all you need to do is download the plugin before installing and activating it. This will add a new section to your admin dashboard, which we’ll look at next.
Step #2: Configure the Maintenance Mode Plugin
This plugin is rather straightforward. However, it does offer a couple of interesting settings you may want to enable before moving forward. To use them, go to the new Settings > Maintenance Mode tab. You’ll see an option to enable maintenance mode right at the top of the screen. However, don’t turn this on yet!

First off, make sure the plugin is set to Maintenance Mode instead of Coming Soon Page since the latter is reserved for pages that don’t exist yet. Now, scroll down until you see the Advanced Settings link below the editor and click on it: Here you’ll be able to set a title for your maintenance page. The default is set to Your Website’s Name – Website Under Maintenance. That’s not bad, but you can tweak it if necessary

The most important setting here has to do with who can access your website as usual while it’s in maintenance mode. In most cases, only administrators should have this privilege. However, you can extend it to other user roles here, such as Editors, Authors, Contributors, and Subscribers. In any case, you don’t want subscribers to have access to your website since that’s the role most users will have.

Finally, the plugin also includes a section where you can add custom JavaScript to your maintenance page, which can come in handy for third-party scripts. When you’re done, click on the Save Changes button and move on.
Step #3: Build Your Maintenance Page and Enable It
As far as maintenance pages go, the Maintenance Mode plugin keeps things simple. Once you access the plugin’s settings, you’ll run into the classic WordPress editor. To get you started, the plugin already includes a header and some boilerplate text:

You can customize this text as much as you want. For example, you may want to include details as to how long maintenance should take. That way, users will know exactly when to come back, and they won’t waste time loading your site over and over.
Some websites also include custom graphics for their maintenance pages, such as Reddit:

This is a nice touch, and you can add images to your own maintenance page using the plugin’s built-in editor. Feel free to get creative, but you don’t need to build anything too complex since the page shouldn’t be up for long. When you’re done, go ahead and save your changes.
You can now turn on the Enabled option at the top of the screen and that’s it. When someone else tries to visit your site, they’ll run into your maintenance page until you turn it off by disabling the same setting.
Conclusion
At some point, you might run into a problem that’ll affect your website’s functionality. However, you shouldn’t just make your site disappear from the web when this happens. By using a maintenance page, you can reassure your visitors that things will soon be back to normal, and that they should return at a later time.
There are several excellent maintenance page WordPress plugins for WordPress. However, we’re big fans of Maintenance Mode due to its ease of use. Here’s how to get started with it:
- Download and install the plugin.
- Configure how your maintenance page will work.
- Build your maintenance page and enable it.
Categories
Subscribe Now
10,000 successful online businessmen like to have our content directly delivered to their inbox. Subscribe to our newsletter!Archive Calendar
| Sat | Sun | Mon | Tue | Wed | Thu | Fri |
|---|---|---|---|---|---|---|
| 1 | 2 | 3 | 4 | 5 | 6 | |
| 7 | 8 | 9 | 10 | 11 | 12 | 13 |
| 14 | 15 | 16 | 17 | 18 | 19 | 20 |
| 21 | 22 | 23 | 24 | 25 | 26 | 27 |
| 28 | ||||||
Recent Articles
-

Posted on : Jul 25
-

Posted on : Jul 07
-

Posted on : Apr 07
-

Posted on : Mar 19
Optimized my.cnf configuration for MySQL 8 (on cPanel/WHM servers)
Tags
- layer 7
- tweak
- kill
- process
- sql
- Knowledge
- vpn
- seo vpn
- wireguard
- webmail
- ddos mitigation
- attack
- ddos
- DMARC
- server load
- Development
- nginx
- php-fpm
- cheap vpn
- Hosting Security
- xampp
- Plesk
- cpulimit
- VPS Hosting
- smtp
- smtp relay
- exim
- Comparison
- cpu
- WHM
- mariadb
- encryption
- sysstat
- optimize
- Link Building
- apache
- centos
- Small Business
- VPS
- Error
- SSD Hosting
- Networking
- optimization
- DNS
- mysql
- ubuntu
- Linux


